Showing posts with label Enlightenment project. Show all posts

Thursday, 10 December 2015

Collections in the Landscape


Collections in the Landscape


Out of the thrilling store-rooms of the Museum where fossils rest in long trays and years of prints and paintings hang in sliding racks and a stray toad-man could be lost for centuries (I know. I tried. They found me.), Buxton Museum and Art Gallery is unfolding a new project that will offer a whole new set of ways of accessing
Dovedale
the museum from here, there and anywhere and will take those wonderful collections back out into the hills and caves and dales they came from.

A quote from the Collections in the Landscape blog
“Buxton Museum and Art Gallery is delighted to have been awarded a £869,000 Heritage Lottery Fund grant to deliver Collections in the Landscape. The project will bring bring context and collections together to engage more people with their heritage. Our aims are:

  • To improve public access to museum collections through development of virtual resources.
  • To improve public access to museum collections through the redevelopment of the principle gallery, Wonders of the Peak.
  • Enable schools and researcher to more effectively access and engage with heritage.
  • Link collections and knowledge through a network of partnerships and volunteer programmes.
  • To develop and share curatorial skills, ethical practice and digital media skills with staff, visitors, non-visitors and volunteers.”
Visit the Collections blog to find out more

Just now, what I want to say is that I’ve been asked to coordinate a series of events over the next 18 months or so that will take the CITL ideas and introduce them to people across the Peak District in engaging, creative and exciting ways

It’s great! I’m sidetracking myself into delighted flights of fancy and reluctantly deciding that we can’t really revisit plague and the medieval punishments of the Royal Forest of the Peak and acknowledging that dipping irritating visitors into petrifying wells might be fun but isn’t really “visitor friendly”.

So we are distilling ideas down to an ongoing set of excitements. I’m gathering a team of artist, photographers, ancient technology specialists and trouble-makers (Oo! Another excuse for those medieval punishments!) to help me and we’ll set a series of public events, schools sessions and more intensive learning days in motion.  I’ll post events as they come up but to whet appetites, over the next 3 months there will be

         The Last of the Wonders: 23rd December 10 – 1pm in the Museum: telling tales of the Peaks and inviting visitors to share their stories of the exhibition, drawing their own cards to keep and leaving us notes, comments and stories in our “Book of the Wonders”. A final event for this version of the display before it is redesigned and reinvigorated
         Marvelous Minerals: February 2016: a day of crystals and colour, looking at the mineral worlds of the peaks and the secrets that grow so slowly and reveal such spectacular colours in our caves and tunnels and long, slow-dripped caverns
        
Bone Detectives: March, 2016, for British Science Week: inviting visitors to discover the secrets of the skulls and spruce up their natural history skills: looking at shapes and structures and adaptations in skulls and discovering how these give us clues about the animals and their lives even if we are not sure what the animal might have been. Our friends in local group Stone and Water have received a Science Week grant towards this event so we can do more! Play with more bones, Admire more skulls! There will be a public event, a workshop for adults during the week and an evening visit to a group of scouts, guides, brownies – or similar – we’re taking offers if any local groups see this!


More details of all of these and the next set will be posted very shortly!

Monday, 6 February 2012

Pop-up Theatres - a new instalment

Following on from the Pop-up Theatres piece from back in November (Pop-up Theatres), we are delighted to invite you to visit a slightly crazy film of the process!


If this doesn't play too well, follow this link direct to the film on YouTube: Historical Entertainments

Monday, 21 November 2011

Pop-up-theatres


How to make pop-up theatres
Introduction
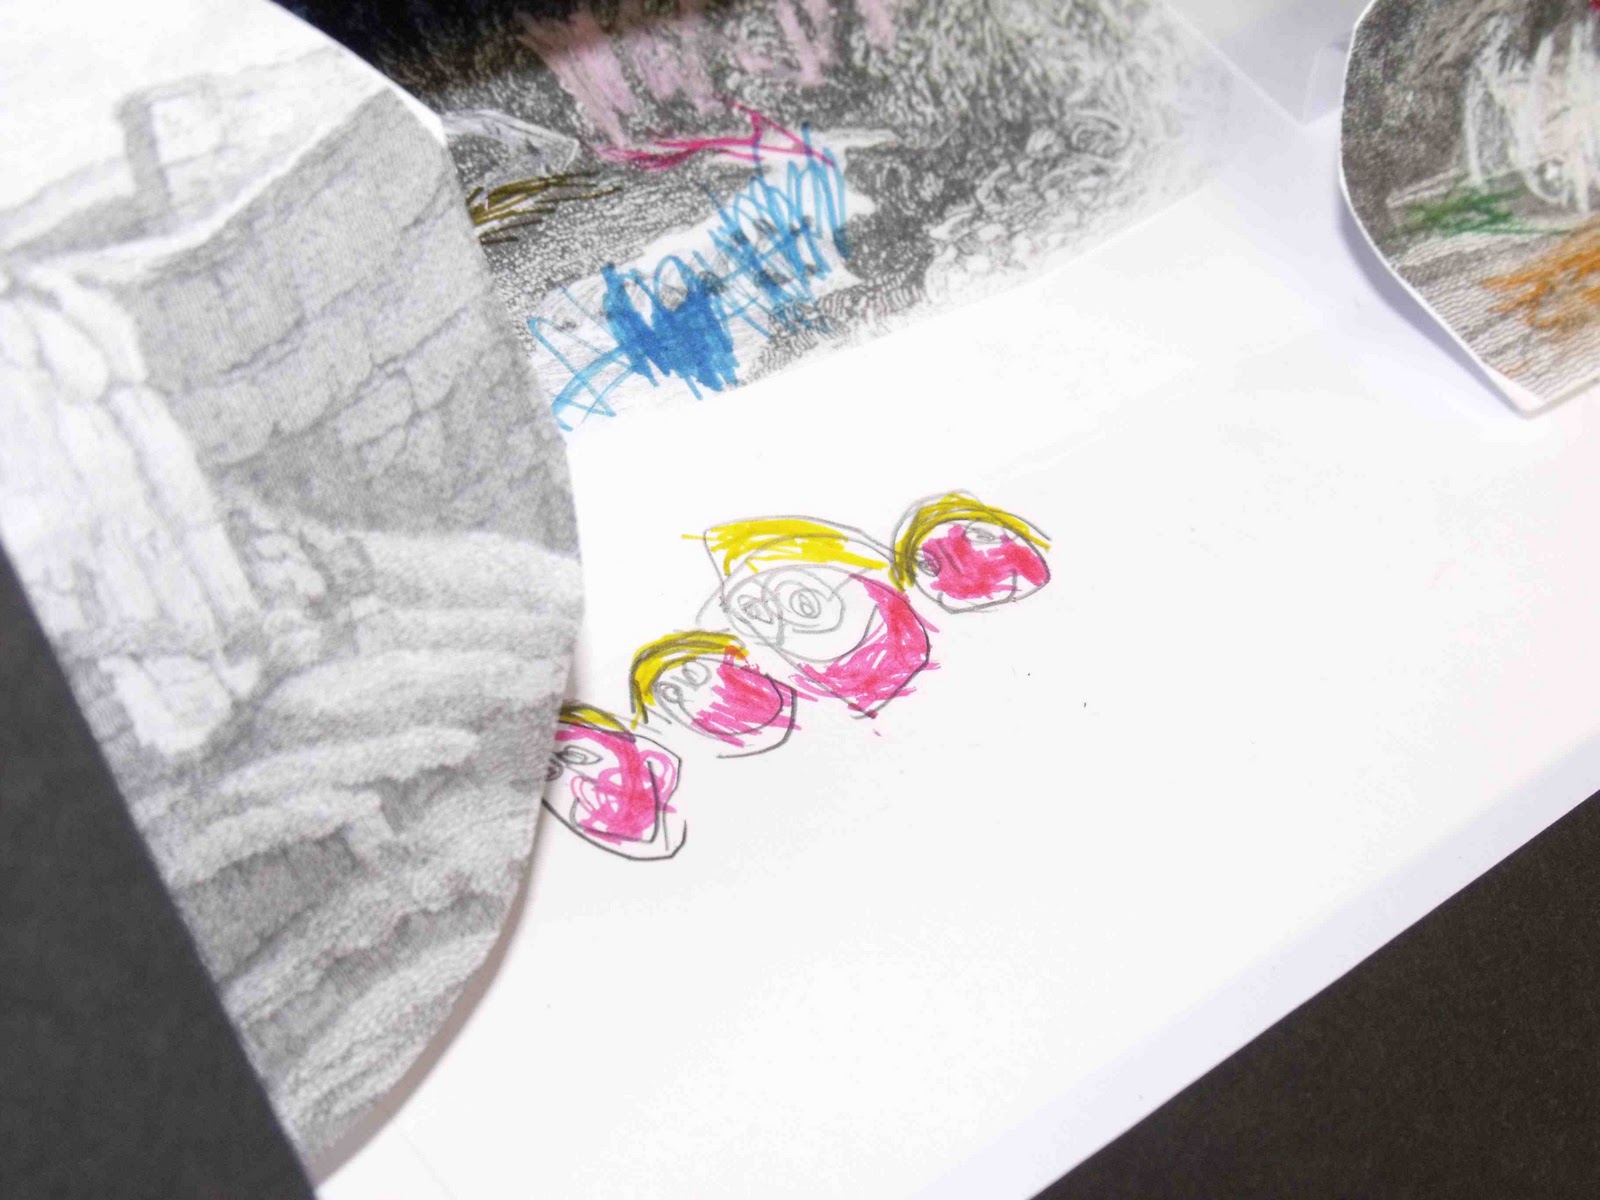
With the Footsteps project within the bigger Enlightenment!  initiative, we were finding ways of encouraging people to use some of the Museum's collections of prints and postcards of the Peak District.
Pop-up theatres were popular Victorian entertainments for children so using some of those 18th and 19th century prints to make theatres like families might have played with seemed like a good way of working with some of the material

We used images from Dove, Monsall and Wye Dales mostly, to make our theatres and built stories that then belonged to those landscapes…

Now, we're presenting two worksheets:
1. Making your own pop-up theatres (this sheet)
2. Building stories for your theatre

You will need:
2 sheets of A3 card (30cm x  401cm) - 1 black or white and 1 coloured
a smaller sheet of card or some scrap bits
two 20cm sticks (thin garden canes are good)
a pipecleaner
glue: gluesticks are OK but a bottle of white PVA would be stronger
stapler
double-sided tape and masking tape
scissors (and maybe a craft knife)
coloured pencils
ruler


Pictures to work with
You can always draw your own landscapes and people - or cut pictures out of magazine - but when we have made theatres as part of the Footsteps project, we've printed out pictures from the Museum collection. These have given us 18th and 19th century landscapes of the Peak district  to work with
Find some to work with at the Enlightenment! blog.  Look at Pictures in the Landscape

You will need at least two pictures printed on A4 paper

What to do
1. Take your white (or black) card and fold it in half. This gives a BACK and a FLOOR to your theatre


2. Glue your first landscape picture onto the folded card to give  the BACKDROP. If you have used our black-and-whte prints, you can always colour them in


3. Choose several pieces of scenery from your other picture. Cut these out and stick them onto scrap card (again colour if you want to). If they start to bend, try giving them a thin painting of glue on the front PVA glue should dry colourless)


4. Fold some card strips to make the pop-up sections. 'X" needs to be the same length as your scenery and 'Y' will determine how far out from the Backdrop the scenery stands


5. Fix pop-up sections and scenery onto your background. You could finish your pop-up here and colour the floor of the theatre to carry the background  outwards


6. Measure and cut the front of your theatre. Be careful here.
Measure:
            A: the distance from the top of the card to the edge of your backdrop -
            B: how deep you want the 'stage" to be - from front to back
            C: how tall you want the front of the theatre to be ('A' also affects this)


Draw a box onto section C and carefully cut it out. If you want to decorate the front of the stage it is easiest to do this now. (We've put several different suggestions on the same theatre)

Fold carefully along the lines, using a ruler: notice the different forwards and reverse folds


7. Fit the front. Double-sided tape is easiest here although you could use glue or a stapler:  stick the top of the theatre on first, then stand the whole thing up and work out just where the front needs to sit on the floor. Peel ff the tape backing and fix the front to the floor


8. Gently fold everything flat (the folds often change a bit now - don't worry). With the sizes we have used here, the top of the stage tends to stick out from the original white card. Use this as a place to write a title. If you want a theatre that doesn't do this, you need to work with smaller pictures and a smaller stage within a starting A3 card


9. Open up and you should have your theatre!

Characters
There isn't a lot of room in your theatre for lots of actors so start with just two or three characters. Working on some left-over card, draw and colour them to suit your story and landscape - with the theatre sizes we've used here, 3 or 4 cm tall is a good size.


Or you could find historic characters in the costume pages of books or on-line

Puppet-rods can be made by taping half a pipecleaner onto the end of a stick and stapling the pipecleaner onto the back of your character. The pipecleaner lets you change angles or even swap which side of the theatre the character enters from

Scripts
What to say and do? Often a story takes shape as we make the theatres but some ideas for scripts will come in the next Pop-up Theatre instalment!


Wednesday, 26 October 2011